CLS install complete in Sydney
After months of planning, we hit the ground running at Equinix SY5 to bring our new cage online. Over five days, our team – alongside a rotating cast of contractors – rolled in racks, configured systems, wired everything from LEDs to locks, and fine-tuned the security infrastructure. This blog, written by Senior Network Engineer Rick Carter, captures the day-by-day progress, challenges, and lessons learned as we transformed an empty space into a fully operational, tightly integrated part of our network.
Day One
The Sydney deployment began much like Perth’s: collecting equipment stored at Equinix, moving it to the staging room, and unpacking it due to data hall’s cardboard restrictions. We ended up with three trolleys of gear, which we rolled into our new cage.
Codecom’s contractor, Alliance SI, was finishing their install, with Andrew and Luke from Codecom onsite to review the setup and discuss performance and potential improvements.
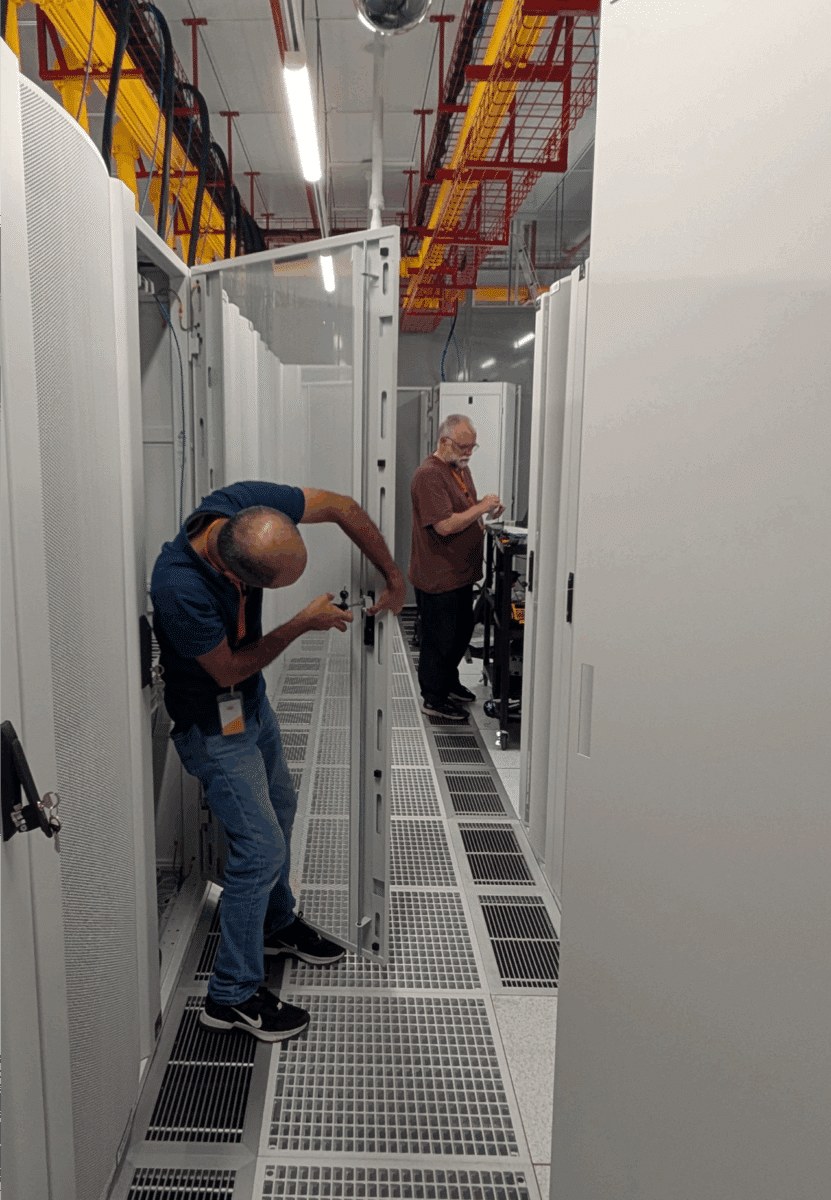
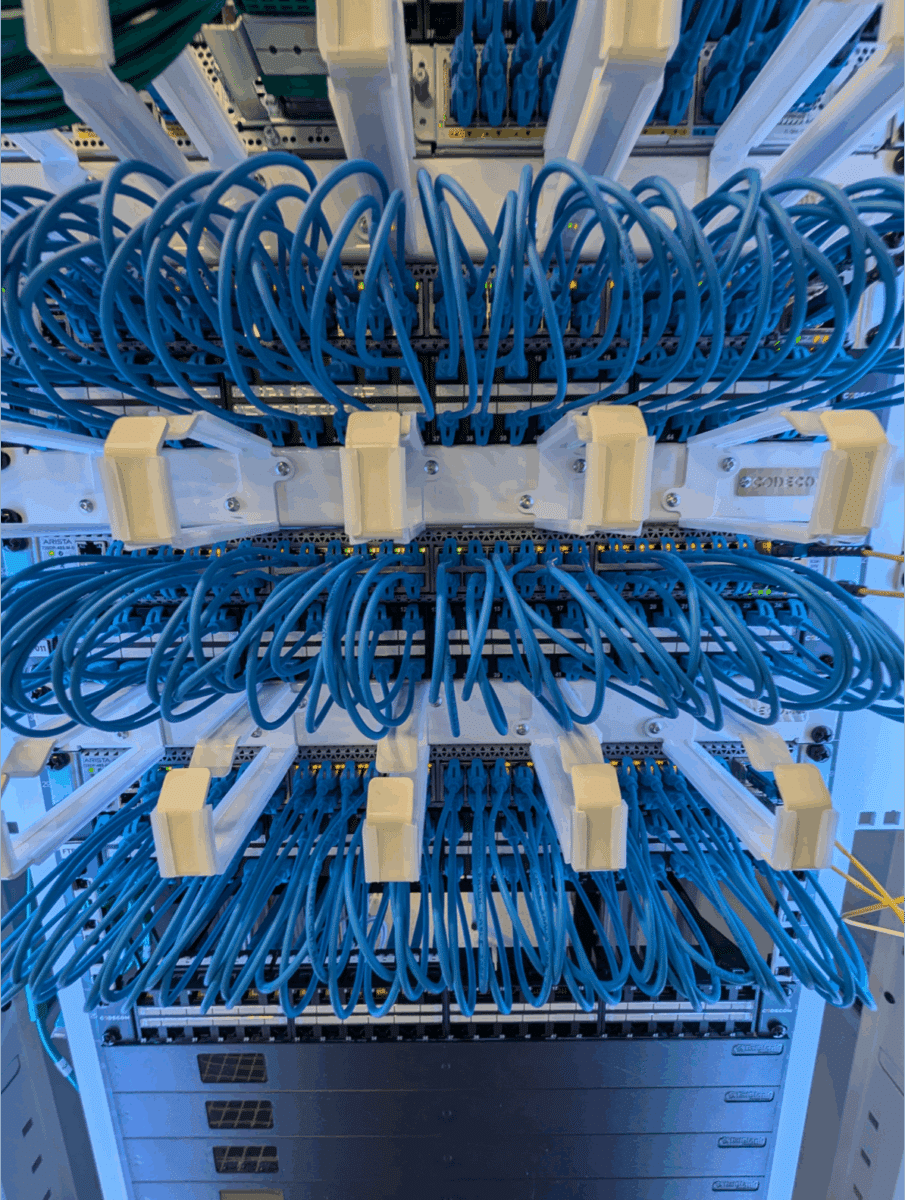
One lesson from Perth was to pre-install cabling for rack lighting, especially in the DCN rack, before loading in equipment. Senior Network Engineer Bob Purdon focused on this while NOC Engineer Sheraz Babar and I rotated rack doors to improve camera visibility. After rotation, the doors couldn’t be closed until we replaced their locks, so Sheraz handled the lock swaps while I began work on the DCN rack, installing and powering the router and switches and running CAT6 patch cabling.
Our main objective on day one was to finish the DCN rack ahead of the security contractors’ arrival. While they worked primarily in the staging area, they would take over the DCN rack in the following days.
Day Two
The morning was focused on bringing the DCN online to ensure network connectivity, which was critical for upgrading camera firmware later in the day. The DCN connects to our local POP in SY3 and via Superloop to the Perth CLS (PE3), with Melbourne CLS connectivity coming soon.
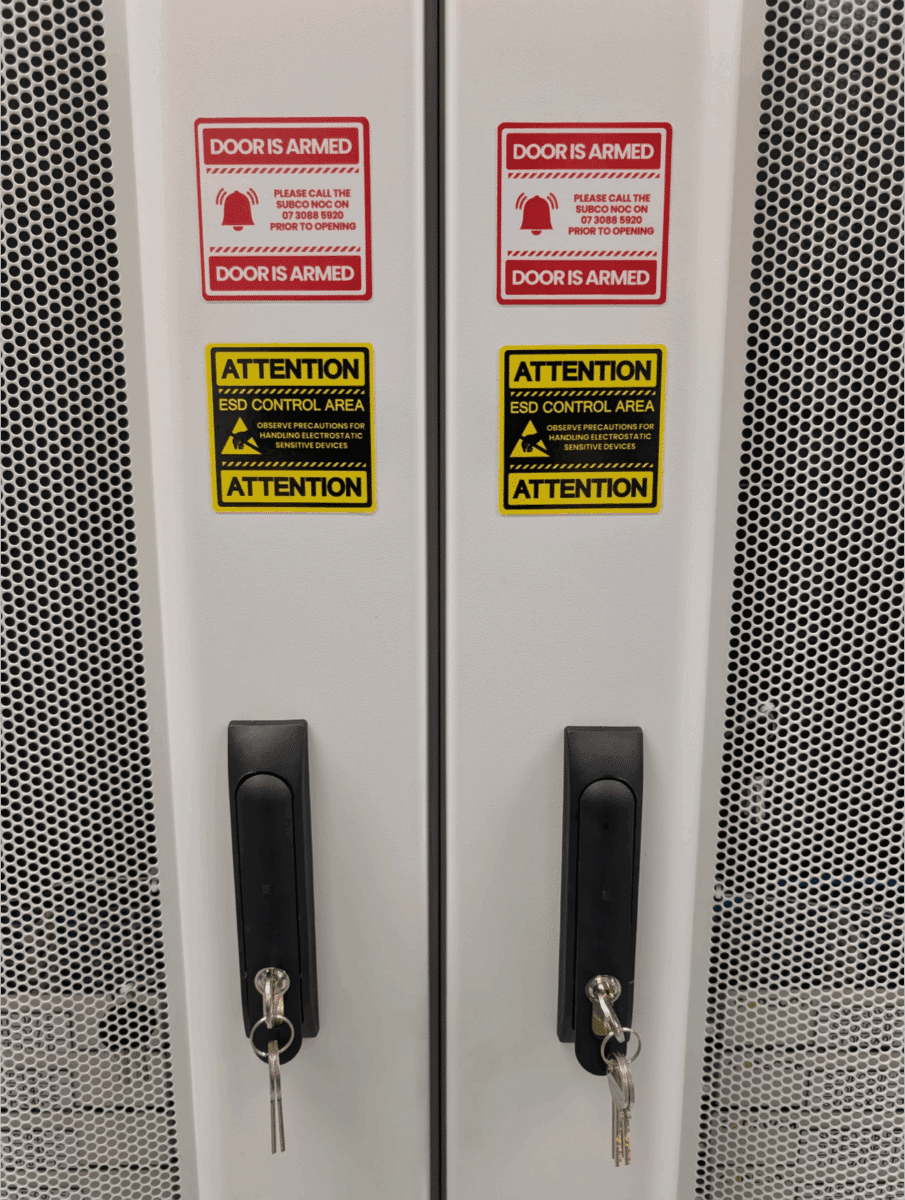
Sheraz spent much of the day replacing standard cabinet locks with new remotely managed ones, a time-consuming task taking about 30 minutes per lock across 27 doors.
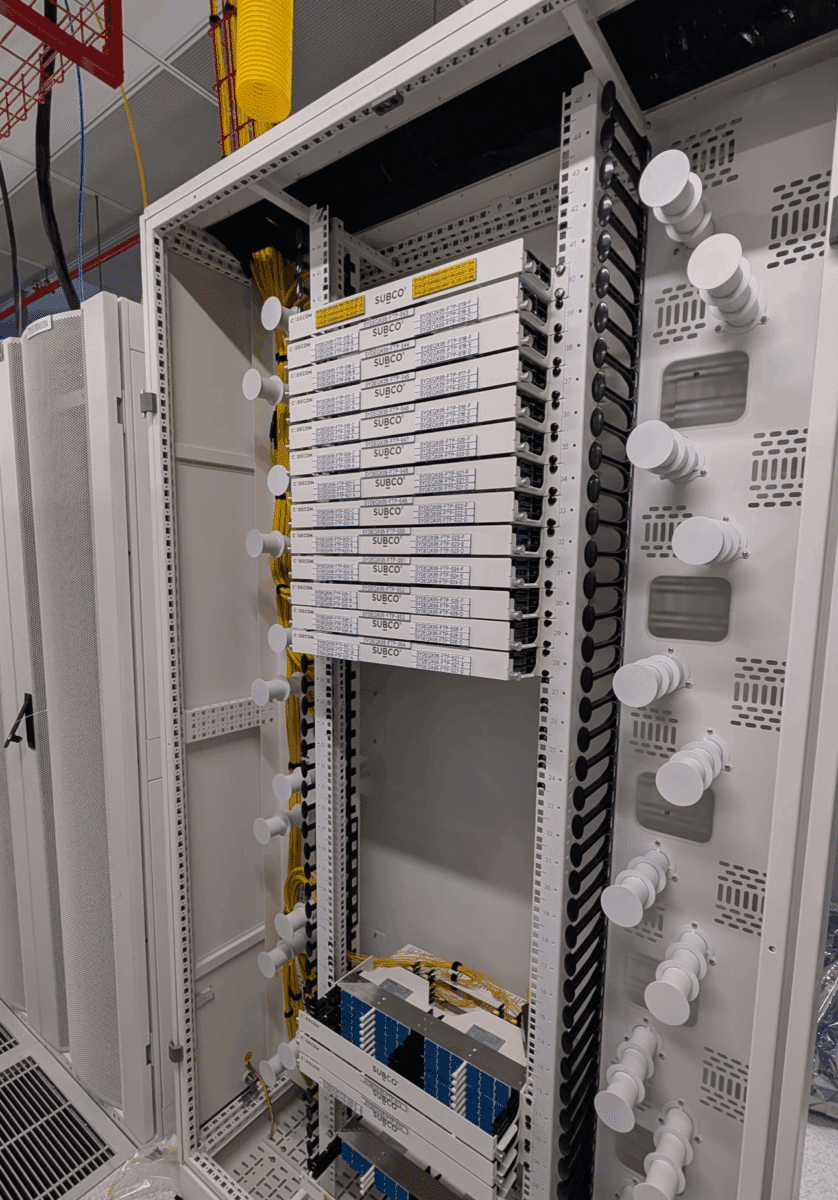
Once the DCN was live, we labeled 164 copper patch cables connecting the panels to DCN switches with unique flag labels.
In the afternoon, our security contractors installed their servers to manage cameras and rack locks. While they worked on the DCN rack, Bob installed and upgraded firmware on in-rack and cage cameras. I focused on cabling the temperature monitors and powered locks, which feed into custom boards designed and 3D-printed by Bob, mounted at the base of each rack.
Day Three
The day began with troubleshooting a faulty DCN link I noticed overnight. After cleaning fibre in SY5, I walked to SY3 and resolved the issue by swapping the optic.
Meanwhile, the security contractors continued configuring the Genetec system and in-rack cameras. I observed them adding the camera I’d installed at SY3 on Friday—our first in-rack camera in legacy racks.
I continued wiring temperature modules, rack locks, and reed switches, while Bob integrated the wiring into his custom boxes, supported the security team, and worked on LED installations. Sheraz kept producing and applying labels to cables and devices.
By mid-afternoon, our long-awaited cable management brushes arrived. The three of us headed to the staging room to cut, drill, and fit them into the 2RU cable managers, customizing them for better airflow efficiency.
Day Four
Day four was busy, with multiple contractors in the cage, making access to some racks limited and causing a few tasks to be only partially completed. Vertiv had two contractors configuring PDUs, with a third joining briefly, and our security team was onsite all day working on cabinet locks and cameras. Unlike in Perth, we got to see the security system in action, including using the mobile app to unlock racks—which was very cool to try firsthand.
I spent the day finishing the cabling for temperature modules and rack locks and handling flat and wrap-around labeling (flag labels to come Friday). Bob continued wiring LEDs, locks, and reed switches into his custom-built security boards.
We wrapped up by installing the remaining cable management brushes—cutting, drilling, and gluing them in place to dry overnight.
Thanks to Thursday’s long push, we were on track heading into the final day.
Day Five
The final day began with a busy cage as contractors wrapped up their remaining tasks. Vertiv completed the PDU commissioning, while PMT focused on adjusting camera positions to ensure full coverage.
I spent much of the day completing the final labelling, while Bob collaborated with the PMT team and then finished the rack cabling for locks, LED lighting, and reed switches. Later in the afternoon, I added all PDUs and rectifiers to our monitoring platform, finalised the cabling, and installed the pull-out tray in our test rack.
After running through our checklist to confirm all tasks were complete, we conducted final testing to ensure the security system correctly identified each cabinet door. We wrapped up with cleanup, installed panels across the racks for air containment, and captured final photos of the setup.